Materials: flat embedding molds, Beem capsules, single edge razor blade, Epon resin mixture, plastic disposable transfer pipets (VWR Scientific, cat#14670-103), wooden applicator sticks, computer-generated paper labels, gloves, safety goggles, fume hood, 60 degree C oven, stereomicroscope, bench coat paper.
Procedure:
Beem capsule embedding:
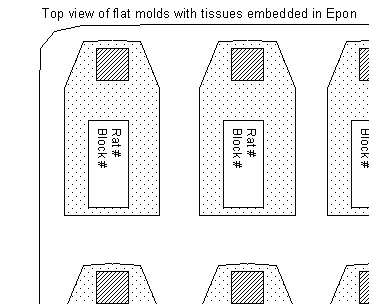
- Create your computer-generated labels for the Epon blocks. Cut them to size for the Beem capsules with a scissors.
-
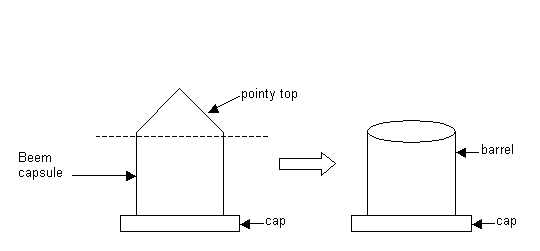
Using the razor blade, cut off the pointy bottoms of the Beem capsules with a straight, clean cut. Insert the appropriate paper label into each Beem capsule. See diagram:
- Detach the caps from the Beem capsules. Place bench coat paper down on whatever surface area in the hood or on the counter top that you will work on
- Use the plastic transfer pipette to place a drop of Epon onto the center of the inside of one cap.
- Place the tissue on this drop of Epon and gently push the tissue down into the Epon, with the wooden applicator stick. Use the stereomicroscope to really see what you are doing.
- Attach the barrel of the Beem capsule carefully onto the cap that contains the tissue.
- Place the capped Beem capsule into one of the holes in the Beem rack.
-
Fill the Beem capsule slowly with the Epon resin. Pipette the resin against the inside wall of the Beem capsule in order to avoid introducing air bubbles. Fill the entire Beem capsule with resin. See diagram:

- Continue to embed more tissues in the same way with any remaining Beem capsules. Then place the rack into the 60 degree C oven. Cure the blocks for 48 hours.
- After 48 hours, remove the blocks from the oven and allow them to cool to room temperature. Then, either use a Beem capsule press (Electron Microscopy Sciences, cat#69920-00) to remove the Epon block from the Beem capsule, or merely cut away the Beem capsule with a single edged razor blade.
Flat mold embedding:
- Place a computer-generated paper label, cut to size, into the rear of the individual mold of a flat mold rack. The words of label should be legible as you look into the mold.
- Carefully, pipette Epon resin into the individual mold until the mold is filled.
- Use the wooden applicator stick to press down the label to the floor of the mold. This will squeeze out all air bubbles trapped under the label. Remove all air bubbles from the resin in the mold. Try using the wooden stick or the pipette.
-
Transfer the tissue into the front area of the mold. Use the wooden applicator stick to gently push the tissue to the floor of the mold and to the front. Look through the stereomicroscope as you are moving the tissue around to properly orient it. Also, look for and remove any surrounding air bubbles. The air bubbles trapped near the tissue will displace the resin and decrease the necessary structural support of the Epon. See diagram:
- When finished embedding all the tissues in the same manner, inspect the levels of Epon resin in each mold. The proper amount of resin should be just level with the top edge of the mold. Add more resin if needed or remove any excess resin.
- Place the flat mold rack into the 60-degree C oven and cure for 48 hours. If you are concerned that really tiny pieces of tissue could float out of place, then return to check on your tissues in 2 ½ to 3 hours. If tissues have moved around, this is a good time to re-position them with the wooden applicator stick. The Epon resin will have become more viscous and will hold the tissue better in place. Then return the flat mold to the oven to continue to cure it.